
Compression moulding
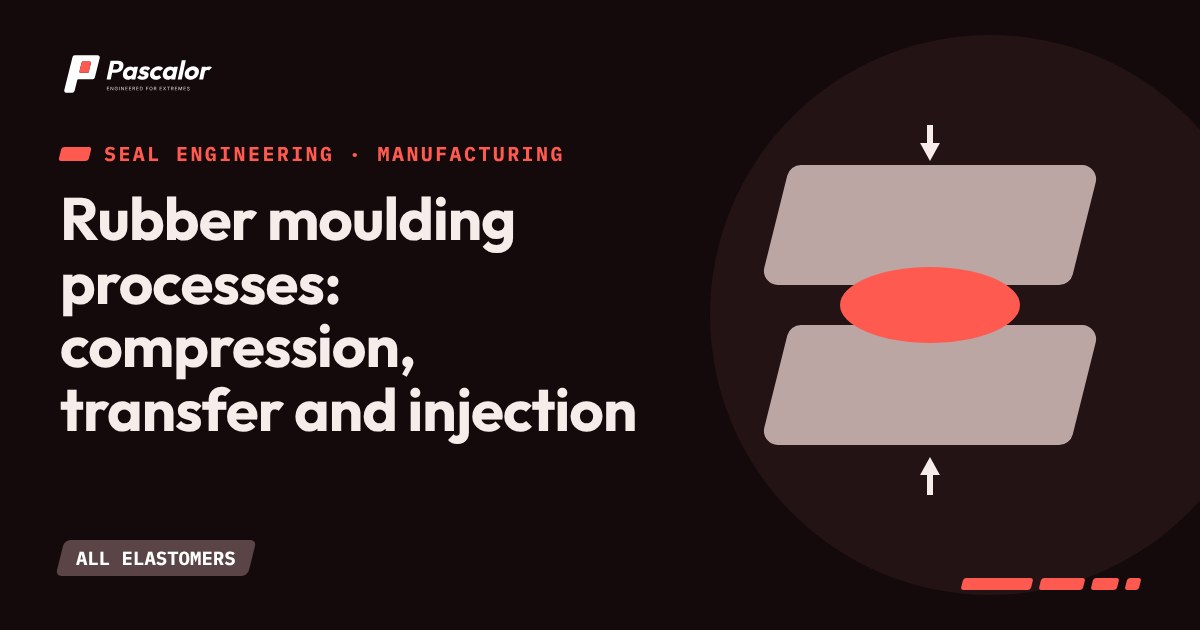
A preform (a cut piece of uncured compound) is placed in the open mould cavity. The press closes, squeezes the compound into shape and holds heat and pressure for the cure time.
- Low tooling cost, flexible, suited to low and medium volume and to large parts.
- More flash, which needs trimming.
- Preform weight and placement control the quality.
- Slow for volume.
Transfer moulding
Compound is held in a pot and pushed through sprues into closed cavities.
- Less flash than compression, better dimensional control across the parting line.
- Good for bonded parts and inserts.
- Some wasted compound in the pot and sprues (cull).
Injection moulding
A screw feeds compound into a heated mould under pressure, often via a cold runner.
- Highest volume, short cycles, little flash, good repeatability.
- Higher tooling and machine cost.
- Needs compounds formulated for flow and scorch safety.
Key process variables
| Variable | Effect |
|---|---|
| Mould temperature | Cure speed, flow, scorch risk |
| Cure time | Under-cure gives high compression set; over-cure can cause reversion or brittleness |
| Pressure | Fills cavity, controls flash and density |
| Preform weight | Under-fill gives voids; over-fill gives heavy flash |
| Venting | Trapped air causes blisters and flow marks |
| Mould release | Contamination risk for bonded parts |
Post-cure
Fluoroelastomers (FKM, FEPM, FFKM) and silicones are post-cured in a ventilated oven (FKM often 16 to 24 hours at 200 to 230 degrees C). It removes volatile by-products and completes crosslinking, giving the compression set and fluid resistance in the datasheet. Skipping or shortening it is one of the commonest causes of seal failure in service.
Trimming and finishing
- Cryogenic deflashing by tumbling in liquid nitrogen.
- Hand trimming.
- Grinding of cross-sections.
- Tolerance finishing by centreless grinding of O-rings.
Quality controls
First-article inspection, cure monitoring (rheometer on every batch), hardness and visual inspection per ISO 3601-3 or customer drawing, retention samples and lot records.
Choosing the route
Pick by volume and tolerance: compression for prototypes and large parts, transfer for bonded and moderate volume, injection for high volume.