
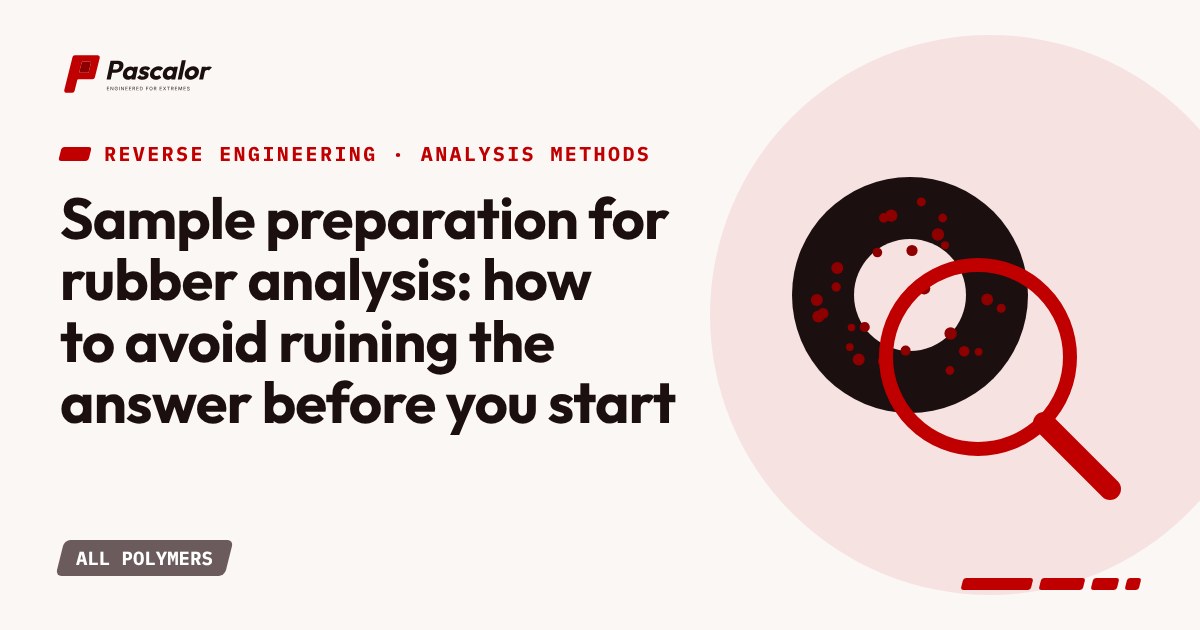
Analysis labs are blamed for results that were doomed at the sample drawer. A rubber part is rarely uniform. It has skins, bonded metal, mould-release residue, paint, fabric reinforcement and sometimes a second rubber layer. The first job is to decide what exactly is being analysed.
Choose the right piece
- Take the functional rubber, not the whole part. In a rubber-to-metal part, separate the rubber from the metal and from any adhesive layer. In a hose, split cover, reinforcement and tube. In a tread, split the cap from the base.
- Sample from the bulk. Surface layers are often different from the core: blooming of waxes, oxidised skins, surface treatments, mould release.
- Take enough. Plan for several grams of clean rubber for the full programme, more if you also want physical testing. Cutting a part into dozens of test pieces is not possible from a 20 mm O-ring, so decide early what the sample must be shared between.
Record before you cut
Photograph the part, note its markings, weigh it, measure its dimensions and hardness, and record how it was stored and what it was exposed to. A seal that spent years in hot oil has lost plasticiser and gained absorbed fluid, and the numbers will reflect that.
Clean carefully
Wipe or lightly wash with a solvent that does not dissolve what you plan to measure later. Remember that a cleaning solvent is also an extraction solvent. Do the surface cleaning first, dry the sample and record the weight change.
Homogenise
Cut into thin slivers or mill on a closed-nip two-roll mill (if the material and quantity allow) so that every sub-sample contains the same mixture of polymer, filler and extractables. Cryogenic grinding is an option for hard or very elastic materials, with the usual caution that heat from grinding can alter the sample.
Special cases
- Fluoroelastomers. Preparation is no harder, but the later heating steps release corrosive fumes. Plan the lab safety before the sample arrives.
- Silicones. Fillers are often silica and the polymer is not extracted by common rubber solvents. Prepare enough for separate tests.
- Foams and sponges. Density varies through the thickness. Say so in the report.
- Aged or swollen parts. Note the swelling fluid. Dry to constant weight before analysis, and record that the plasticiser content may have changed in service.
A short checklist
- Photograph and weigh the part as received.
- Separate rubber from everything else and record what was removed.
- Clean and dry, noting the weight change.
- Cut or mill into representative sub-samples.
- Label and store away from heat and light until testing.